iOS and Android instructions

iOS Devices
Congratulations on the purchase of your MAF HR+!
You are only a few simple steps away from enjoying the latest in heart-rate monitoring technology. While they are largely self explanatory here are a few tips to help you get started. The following instructions apply to iPhones.
The HR+ is also fully compatible with Android devices because they use the industry standard Bluetooth Low Energy channel for heart rate monitors, but the details are slightly different.
Get started!
The first thing to do (after making sure your HR+ is charged) is to watch the guide video and pair your HR+ with your phone.
There are two channels in the HR+, one for audio and one for heart rate. You should see two entries in the Bluetooth settings on your phone. (If you choose to use a third-party app you might need to also activate the HR+ from within the app via Settings.)
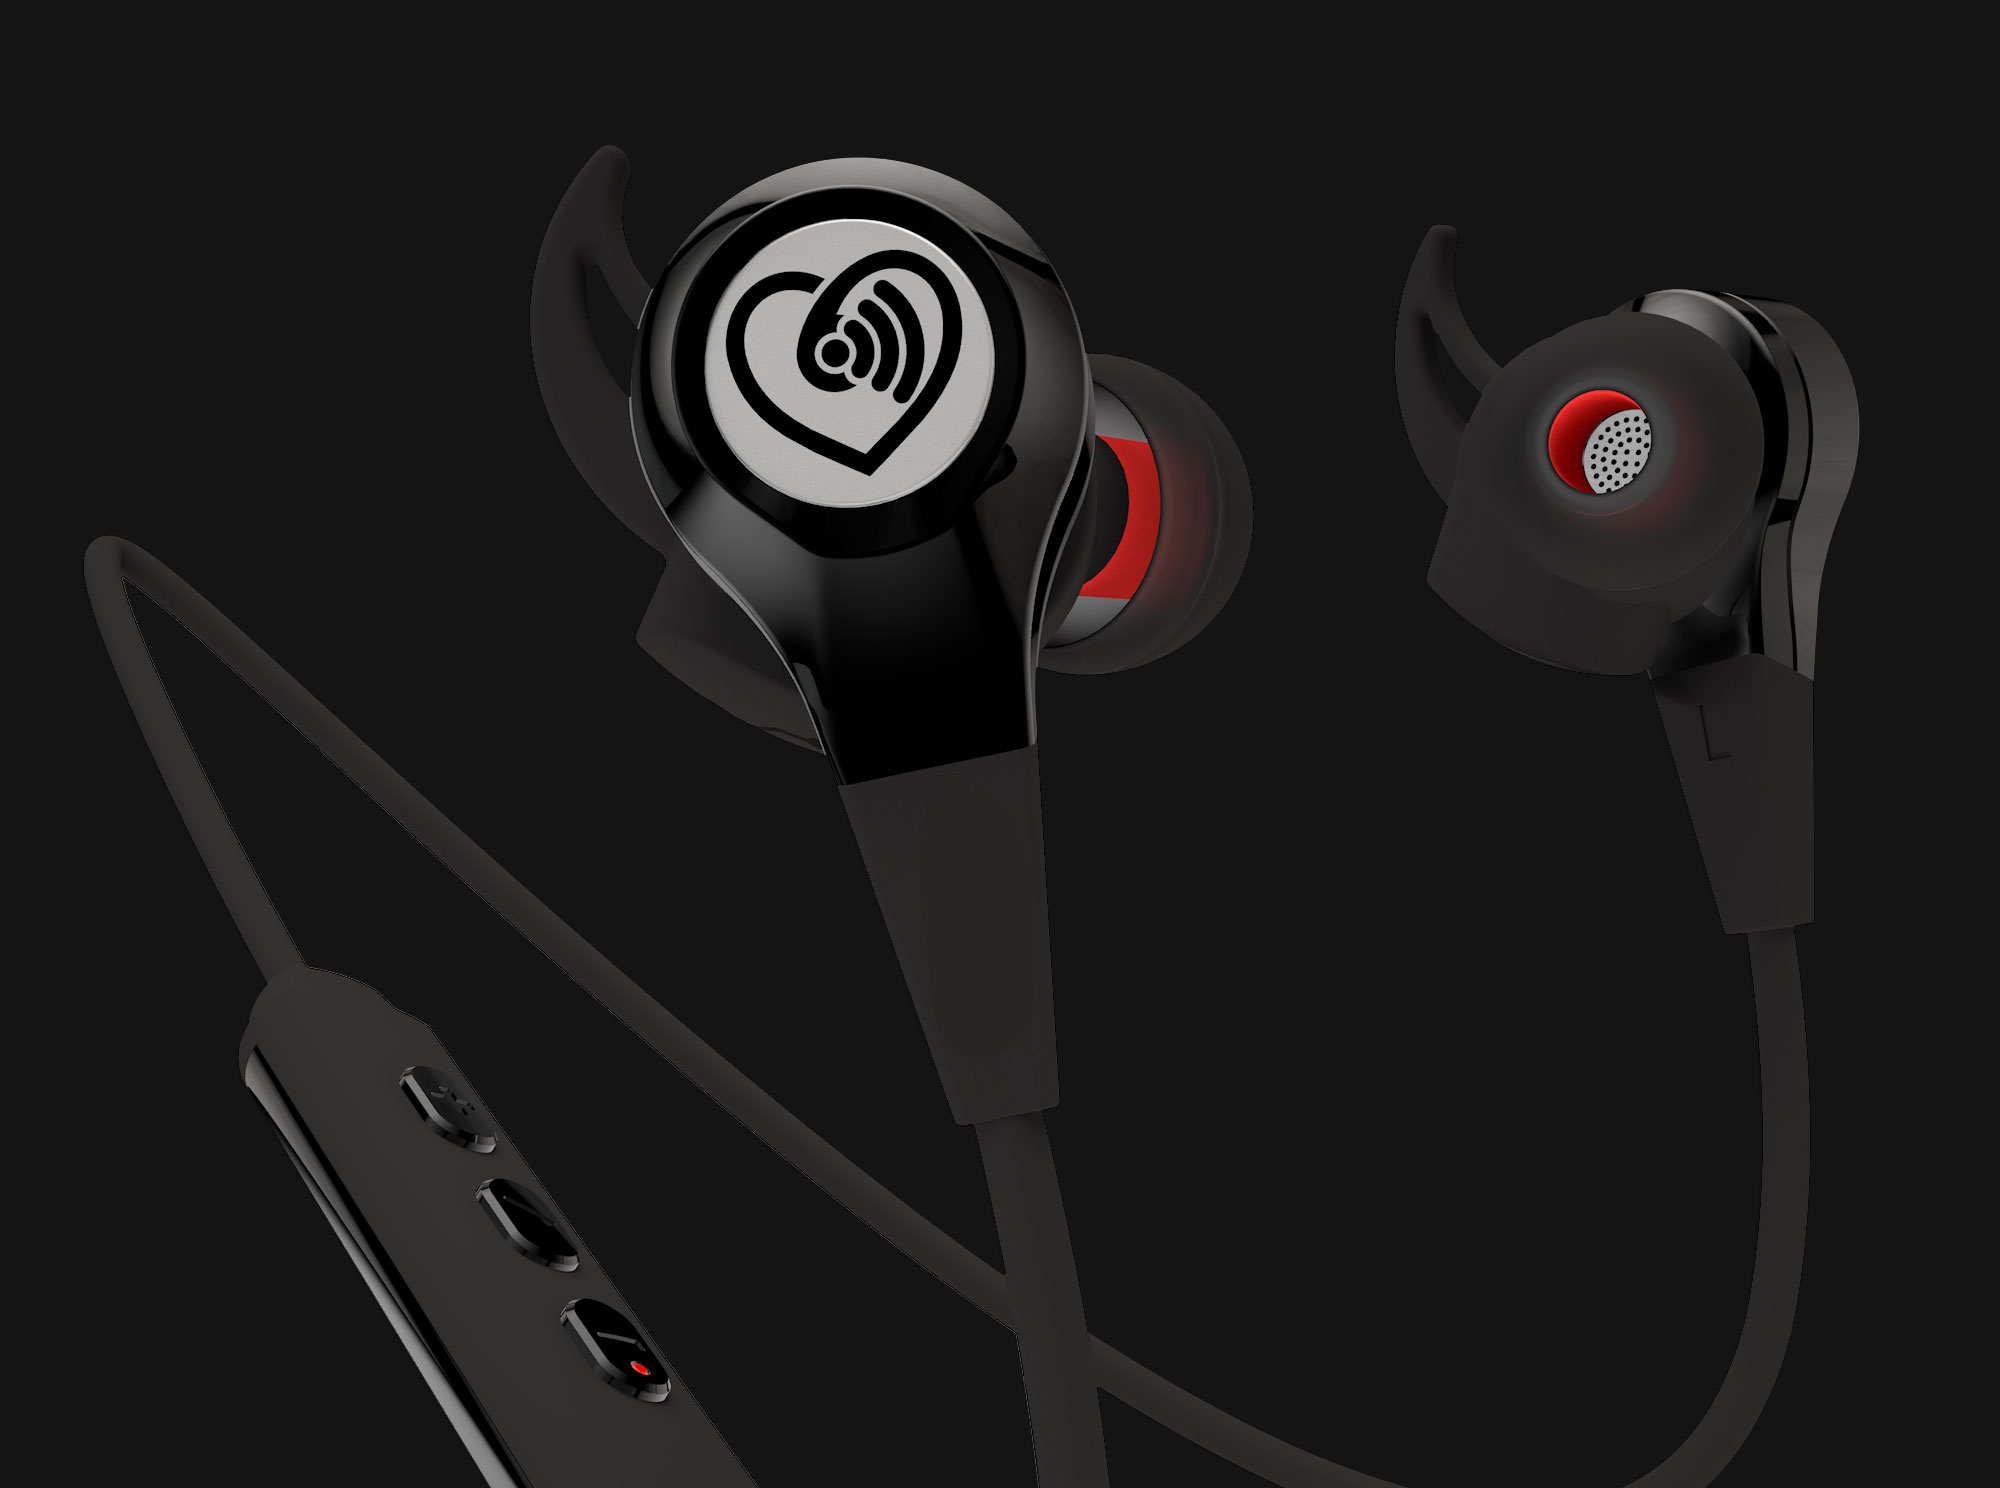
Download the MAF HR+ App from the app store. When you use the app for the first time it will walk you through a set of questions to calculate your MAF 180 heart rate. This will then automatically calculate your training zone. Once you complete this, the main screen displays your current heart rate when the HR+ are turned on (you turn them on and off by holding down the middle button on the controller for 4-5 seconds).
More options
Just above the start button (lower left) of the main screen in the app is the activity button (the default icon is a runner). If you click on this it will allow you to choose your training activity. The information the app provides will be based on the selected activity. Choosing an activity will take you to a screen that gives you two more options.
- The first allows you to set a training goal. There are several to choose from, but the one that we recommend is the Heart Rate goal. If you select this (and click Done) it will set an alarm that will warn you when you are outside your heart rate zone, which is set to the MAF zone by default.
- The second goal allows you to compete in a ghost race which means that you can compare your pace against a previous activity in real time, so you are racing against yourself.
Listen up!
Going back to the home screen the other important function is the Audio settings which are accessed by the megaphone on the lower right. Tapping on this allows you to set up what information will be played back to you and to set how often you will hear it.
The last button in the home screen is for music. It takes you to Apple music by default, but in fact you can use any music app you like. The button is just for convenience. The + and – buttons on the controller will allow you to adjust the volume or to skip back and forward in the audio. The middle button will allow you to pause and restart the audio or to answer phone calls.
Earpiece fit
It is very important to properly fit the HR+ earpieces for optimum function. Because the reading is made in the ear it is critical that the HR+ are comfortable and positioned in the right place. Sudden changes in the reading can indicate that the earbud has moved so it isn’t getting a clear signal. Sometimes this will result in a flat heart rate reading. Other times it will bounce and indicate false high readings. There are a couple of videos to guide you here:
You’re all set!
Once set up the HR+ are just as accurate as a chest strap (we have tested them in the lab). However, are much more convenient and the audio feedback keeps you updated in real time while you exercise.
We hope this introduction is helpful. If you need any help, please don’t hesitate to email burnfat@philmaffetone.com.
Have fun!
The MAF Team
Android Devices
Congratulations on the purchase of your MAF HR+!
You are only a few simple steps away from enjoying the latest in heart-rate monitoring technology. While they are largely self explanatory here are a few tips to help you get started. The following instructions apply to Android devices.
The Android equivalent of the HR+ App is still under development, but in the meantime you can still use your HR+ headphones with these devices. Just go to Google Play and choose an Android app that works with a Bluetooth Heart Rate Monitor (BLE) — any should work with the HR+. We have found Map My Run is reliable but there are plenty of other choices.
When you first turn on your HR+ (by holding down the middle button on the controller) it will go into pairing mode with the LED flashing rapidly in two colors. Go to Settings and Bluetooth in your device, search for “new devices.” Select the HR+ when it shows up. If it isn’t showing then it is probably because the HR+ is not yet in pairing mode so hold down the middle button until you see the two-color flashing LED.
Once paired with your phone then go to your exercise app settings and pair the app with the HR+. The exact way of doing this will depend on the App but it will usually be under “Sensors” or “Heart Rate Monitors.”
Due to issues with the way Android handles Bluetooth connections it is important when you exercise that you start the App before you turn the HR+ on. Otherwise it might not detect the HR+ correctly even though they have been paired. If that happens then turn the HR+ and phone off, turn the phone on, start the app and then turn the HR+ on and it should return to normal.

