Mix and match them to meet your specific energy needs and taste preferences.
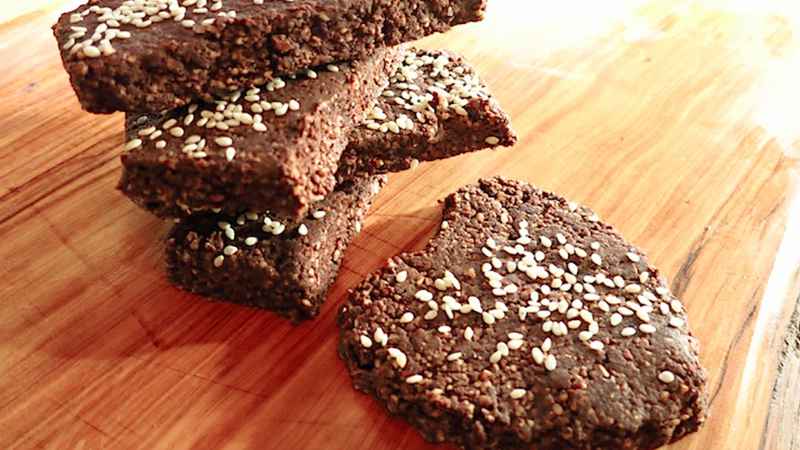
One of my most popular creations over the years has been the “Phil’s Bar.” The original came about through my desire to always have something healthy and convenient to eat when I am out and about, or unable to prepare a snack or meal.
Over time there have been many different versions of Phil’s Bars, as myself and others have adapted the recipe to suit our individual needs. But what has remained the same is they are fresh bars made from real food ingredients and are sweetened with just small amounts of honey to maintain their low-glycemic quality.
For me, there have also been many different versions based on my changing needs over the years, taste preferences, and what they are used for. These days, I make them for a day on the road or a long lecture tour. Packed with energy from the right amount of carbs, fats and proteins, they are a complete, condensed, raw real-food meal. And they’re quick and easy to make—about 12 minutes (a few more if you wrap each bar individually)—and will last many days, even without refrigeration.
Fresh bars are best. No store-bought bars come close to their power and quality, and for much less cost. So stay off the prepackaged energy bar bandwagon.
Food science made simple
Here are some essentials when making bars. Most important is balancing wet and dry ingredients — too much/little of one or the other makes for a bar that’s too sticky to handle or too dry to hold together.
The recommendation to “mix well” means just that — getting all the wet and dry ingredients equally distributed throughout the batter.
A note on water: the reason the bars last long without refrigeration is that the water content is quite low. The more water you add, the shorter their shelf life and more refrigeration they will require. Fat is one way to avoid water and added liquid, with coconut oil or cacao butter being the best. If the batter is too wet, add more dry ingredients like egg or cocoa powder, or ground sesame seeds. An option is to dry the bars in a very low, slow oven, although usually this is not necessary.
Variations
Chocolate is great by itself, of course, but adding more to make a “super cocoa” bar can be even better. Adding more chocolate powder means adjusting with a bit more liquid
Some people don’t like or can’t eat chocolate (sad but true). If you leave it out you’ll have to add back the approximate equivalent in dry material or fat — perhaps more egg or other powder, or coconut oil, for example.
Whether you use cocoa or not, you can flavor with various natural (edible) oils such as citrus or natural almond flavor. Peppermint is a great addition to chocolate bars. You can also add foods that flavor, such as finely chopped lemon or orange peel.
If your caloric needs are higher or lower, just adjust the size of the bar to meet your needs. If 300 calories is more than you’ll need for a snack, reduce the size proportionately.
Below are two Phil’s Bar recipes, the first is the traditional one, and the second a very-low-carb “keto” bar. Details about carbohydrates, fats and protein, calories, and ingredient amounts are provided for each.
Phil’s Bar Traditional
Makes about 12 large bars.
Raw almonds : 3 cups (450 g)
Egg-white powder: 2/3 cup (60 g)
Cacao powder: 1/4 cup (22 g)
Honey: 1/3 cup (110 g)
Shredded coconut (unsweetened): 1/2 cup (35 g)
Nutrition Facts (per bar):
Calories 285
Carbohydrate 12g
Protein 12g
Fat 21g
Phil’s Bar “Keto”
Makes about 12 bars
Raw almonds : 3 cups (450 g)
Egg white powder: 2/3 cup (60 g)
Unsweetened baking chocolate: 1/4 cup (22 g)
Honey: 1/4 cup (110 g)
Shredded coconut (unsweetened): 1/2 cup (35 g)
Nutrition Facts (per bar)
Calories 300
Carbohydrate 10g
Protein 13g
Fat 23g
Instructions
Grind dry ingredients (a Cuisinart works best). In a separate bowl mix honey with an equal amount of hot water and vanilla, then blend into dry ingredients and mix well (you may have to mix it all by hand if your mixer isn’t real efficient). If the batter is too wet, add a bit more dry ingredient; if too dry add a bit more liquid. Adjust water/honey ratio for less or more sweetness. Shape into bars. You can also press the batter into a dish (about one-half to one inch thick) and cut into bars. Or for fun shapes use a cookie cutter. They are best kept refrigerated but will typically last a week or more out of the refrigerator.
Options: Add various healthy nuts such as pecans, macadamia, cashews or combinations.
Dr. Phil Maffetone